The web Browser you are currently using is unsupported, and some features of this site may not work as intended. Please update to a modern browser such as Chrome, Firefox or Edge to experience all features Michigan.gov has to offer.
Provider Guide for Adding I-Billing to MiLogin Account
Provider Guide for Adding I-Billing to MiLogin Account & Associating a Provider ID
This guide is for child care providers participating in the State of Michigan’s Child Development and Care (CDC) Scholarship program who need to add I-Billing to their MiLogin account. MiLogin is the State of Michigan’s one-stop login portal to access state system individuals use day-to-day. With just eight (8) short steps, you can add I-Billing to your MiLogin account for seamless access to bill for the child care services you provide.
- Adding I-Billing to your MiLogin Account
- Associating a Provider ID
- Licensed Child Care Providers With Multiple Locations
Adding I-Billing to Your MiLogin Account
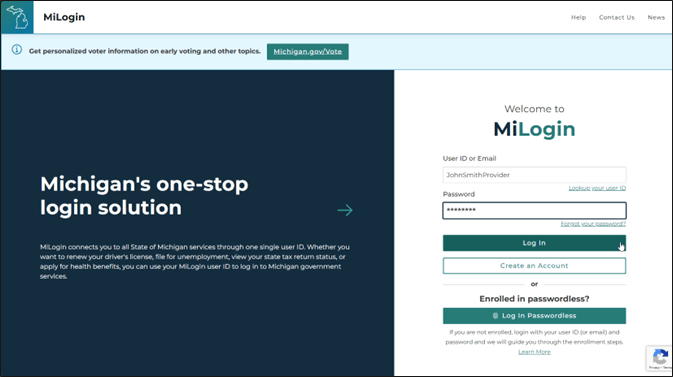
1. Log into you MiLogin for Citizens account by entering your MiLogin user ID and password, and click, Login.

2. Next, you will be taken to your MiLogin welcome homepage. Under Discover Online Services towards the right, click on, Find Services.

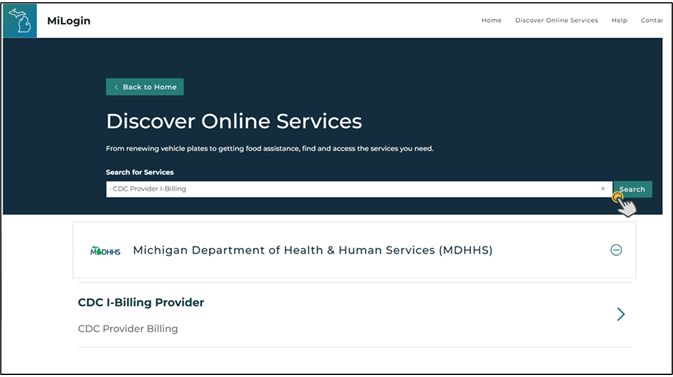
3. Now, enter CDC I-Billing Provider in the Search for Services field, and click, Search, or press enter.

4. Now, enter CDC I-Billing Provider in the Search for Services field, and click, Search, or press enter.

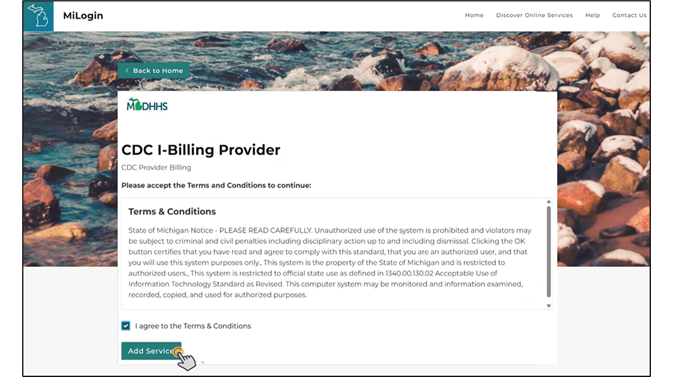
5. Next you will see the Terms & Conditions. Check the box to agree to the Terms & Conditions, and click, Add Service.

6. Next, you will see the service (I-Billing) has been added successfully. Click, Launch Service.

7. After you have added I-Billing for the first time, each time you log into MiLogin, simply click on the CDC I-Billing Provider link.

8. You will see the Terms & Conditions each time. Check the box to agree to the Terms & Conditions, and click, Launch Service to open I-Billing.

Associating a Provider ID
1. When I-Billing opens through MiLogin for the first time, you will see the I-Billing login screen. This is how you will associate your provider ID for I-Billing to your MiLogin account.

2. Enter your seven-digit provider ID and six-digit I-Billing PIN, and click, Submit.

3. Once you are logged in, you will see Provider Notifications. These are the messages you would previously see on the I-Billing login page. Click, Return, to go to your I-Billing Main Menu.


Licensed Child Care Providers With Multiple Locations
For licensed child care providers with more than one location, after you have added I-Billing for one location to your existing MiLogin for Citizens account, you can associate (add) additional provider IDs through I-Billing.
1. From your I-Billing Main Menu, click, Associate Account towards the bottom.

2. Enter the seven-digit provider ID and six-digit PIN of the next location, and click, Submit. If you are not ready to add the next location by associating the provider ID to your MiLogin for Citizens account, click, Return.

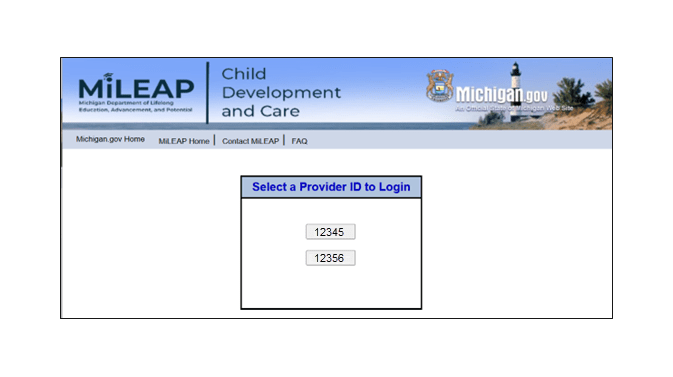
3. After you have successfully associated the additional provider ID, you will automatically be taken to the I-Billing Main Menu for the newly added provider ID. Now, you will see a new button towards the bottom, Switch Provider. This new button will allow you as a licensed provider with multiple locations to switch between all associated provider IDs to bill without having to complete the login process multiple times.
